
Flameshot is a universal screenshot creation and editing tool that supports the most popular operating systems: Windows, Linux, and macOS. Its installation takes only a few minutes, and even a user without technical skills can handle this task. Below, we will look at how to install Flameshot on each platform step by step.
Installation on Windows is very simple. You need to go to the official website flameshot.org, go to the “Download” section, and download the latest version of Flameshot for Windows. This is a regular installation file in .exe format. Run it and follow the standard instructions: select the installation location, accept the license terms, click “Install”. After a few minutes, the program will be ready to use, and the icon will appear in your “Start” menu or on the desktop.
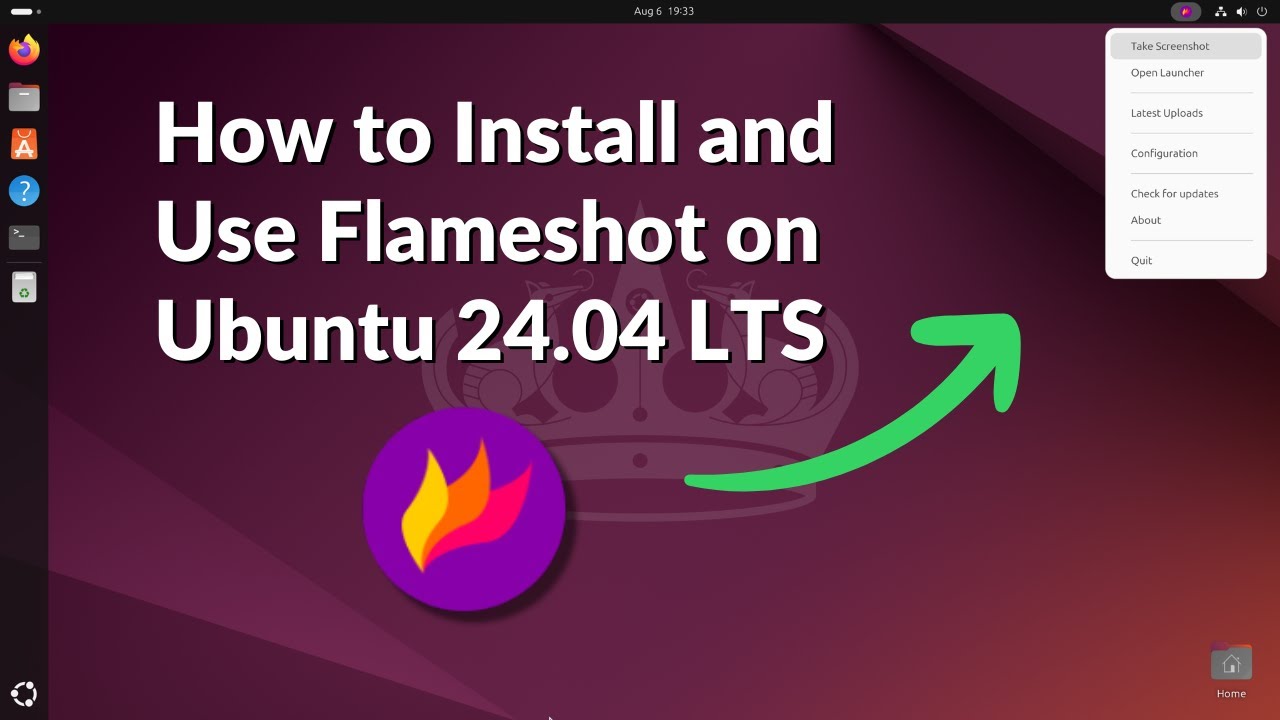
On Linux, different installation methods are possible, depending on the distribution. For Ubuntu and other Debian-based distributions, just open a terminal and run the command:
sudo apt install flameshot
For Fedora and similar systems, use:
sudo dnf install flameshot
And for Arch Linux, use:
sudo pacman -S flameshot
The Linux community appreciates this application for its ease of integration and constant updates in the repositories.
Flameshot is also available for macOS users. The easiest way to install it is through the Homebrew package manager. If Homebrew is already installed, enter the command in the terminal:
brew install flameshot
Or download the ready-made .dmg file from the official website and install it in the standard way.
Thus, regardless of the operating system, installing Flameshot is quick and intuitive. After launching the program, you can immediately use all its functions to create professional screenshots.